Hello everybody... Today's post is being hosted by Andrew.
I guess if my name is going to be in the list of writers, I'd better write something once in a while!
You may remember the wood rings us guys made for our sisters from our last
Christmas gift-making project. Well, they were a big hit, and Stephen has been since improving his ring-making skills. I thought it would make a cool post to follow him through the steps of making a White Ash ring, with a crushed stone inlay.
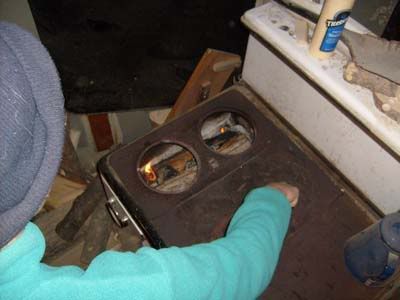
So without further ado, let's get that fire cranking in the 'ol shop stove (this is March in the U.P., after all) and make some sawdust!
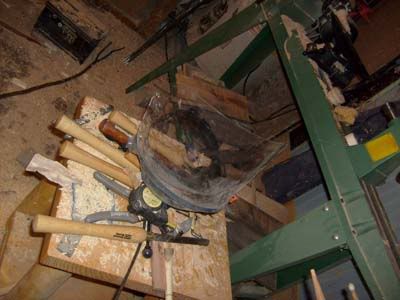
Hmm.. Steve is kind of a slob.
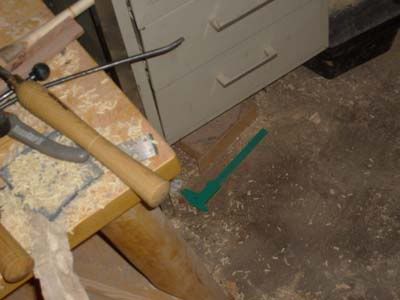
Aha... Looks like he lost his calipers. I could be a nice brother and pick them up for him. Maybe.

Cutting our specimen log. The muffs offer ones' ears double protection from loud noise, as well as frostbite.
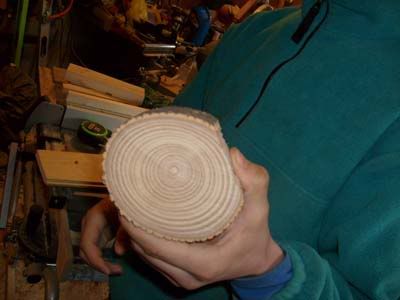 Ash has a cool grain.
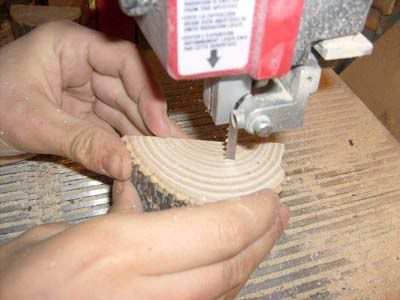
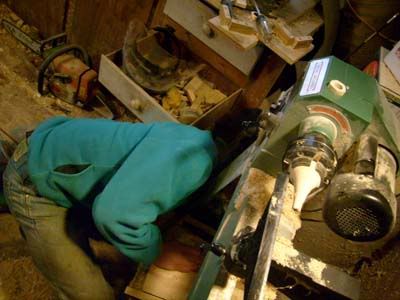
Some more slicing up on the band saw before we're ready to turn to the lathe.
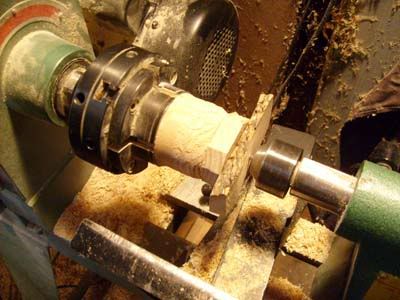
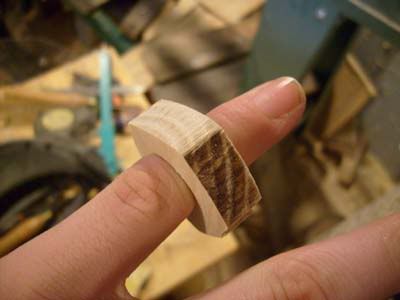
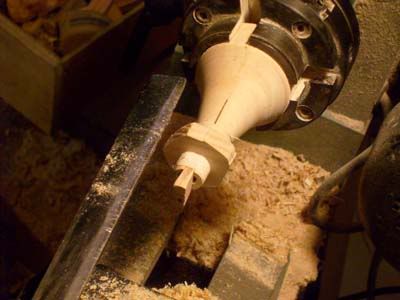
Hopefully, this ring will end up being around a size 6. We need to start by super-gluing the stock to a sacrificial block on the lathe, so we can bore the hole.
Waiting a whole 30 seconds for the glue to dry..
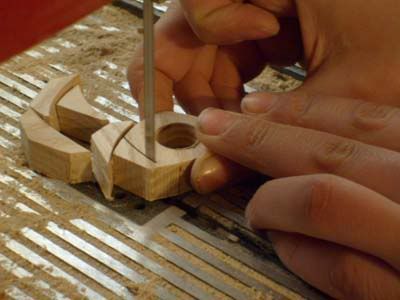
Hacking out the hole.
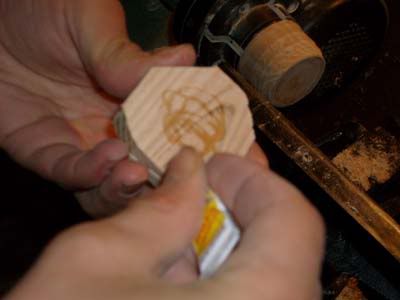
Now we can rough-cut the ring down on the band saw a bit more.
Looks pretty good. All done! Just kidding...
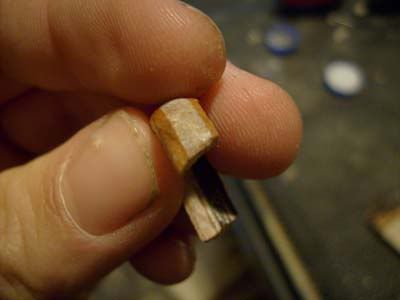
Those darn things are so tiny...
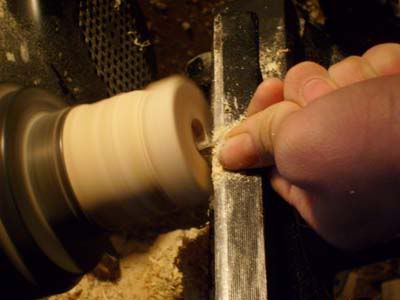
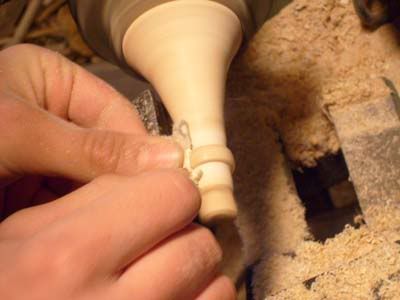
This is our special adjustable ring chuck that we made. A little wedge spreads out the dowel to hold any size ring firm.
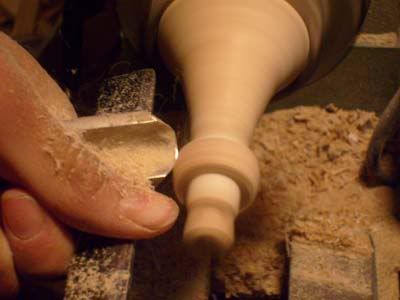
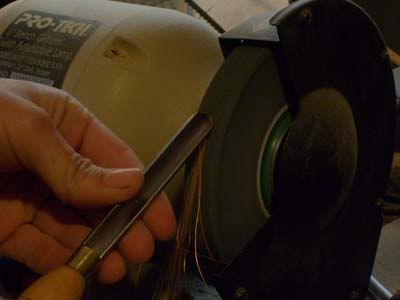
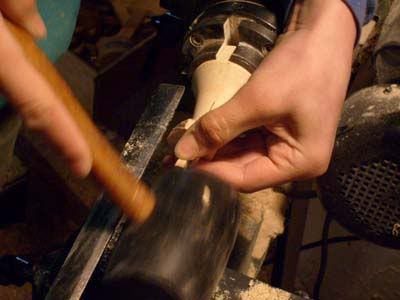
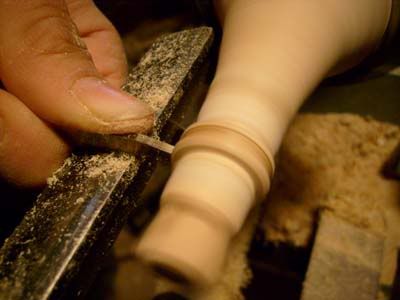
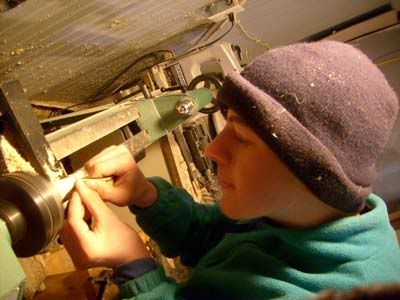
Sharp tools are so important..
Carefully whittling away...

A little sanding and the grain is really starting to show itself off...
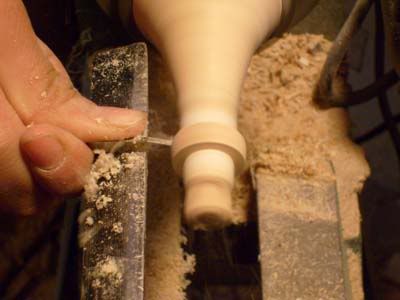
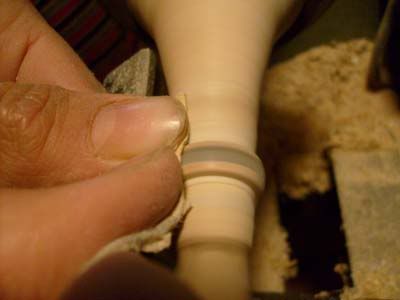
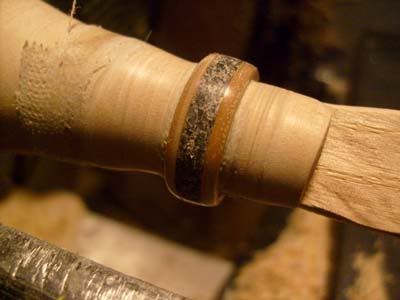
Carving a groove for the inlay.
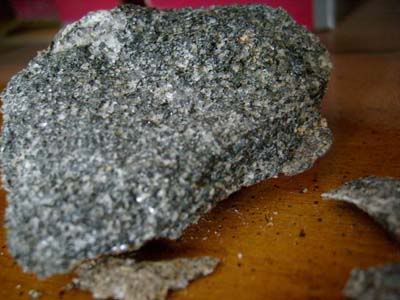
This is a a shard off of a little boulder we unearthed while excavating the hole for our root cellar. We decided it was too cool looking to let it disappear back into the ground. There's probably enough of this rock to make about 3,782 rings.
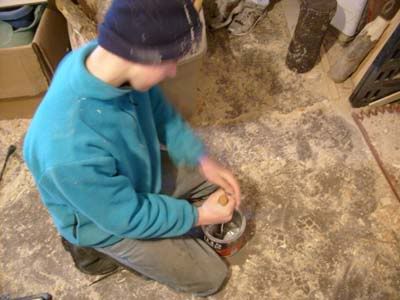
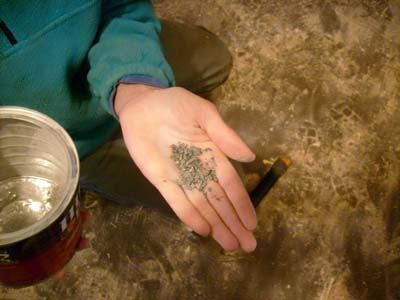
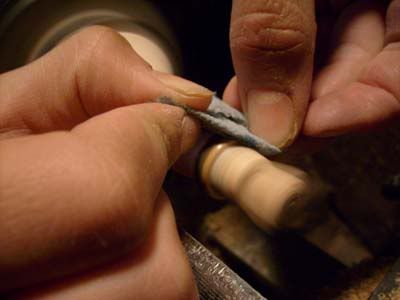
Smashing.
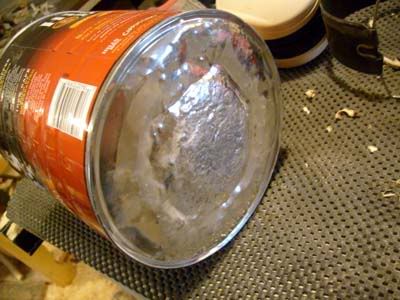
Do not use your favorite coffee can for this process.
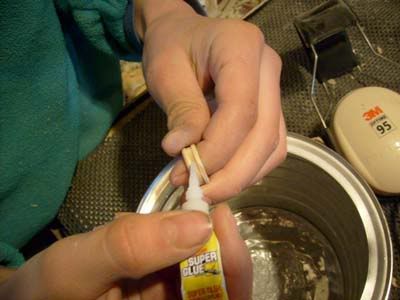
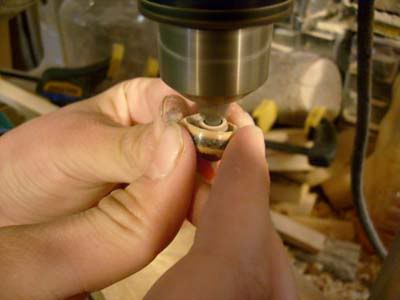
Time for some more super-glue! Or Cyanoacrylate glue, for those woodworkers who want to sound more professional.
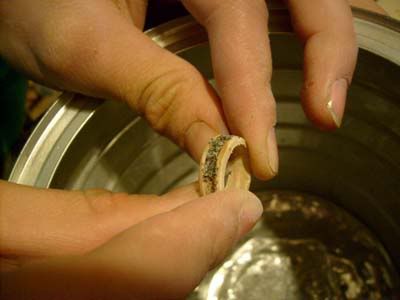

Looks a little rough at this stage.
A poor Quartz-inlaid ring that never had a chance...
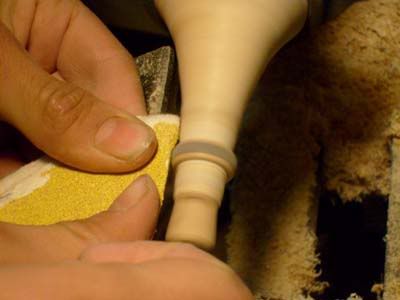
Let the sanding begin!
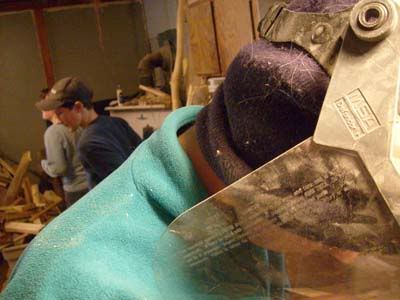
Some bystanders happened to be wandering around at this point..
Starting to look pretty good! All it needs is some fine sanding and a few coats of (guess what?) .. more super-glue! Believe it or not, the stuff makes a really durable, glossy finish.
A little sanding around the inside with the drill press, and....
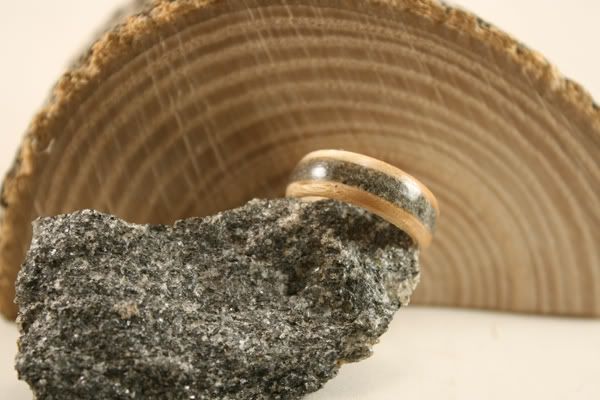
All done!Thanks for reading!


That was neat. The ring is real pretty. Great work! Have a lovely day. Sincerely, Mommy of two little blessings & so much more!
ReplyDeleteThat is amazing! What a BEAUTIFUL ring!
ReplyDeleteThanks for your visit to the blog.
Have a wonderful day!
Blessings,
Chas